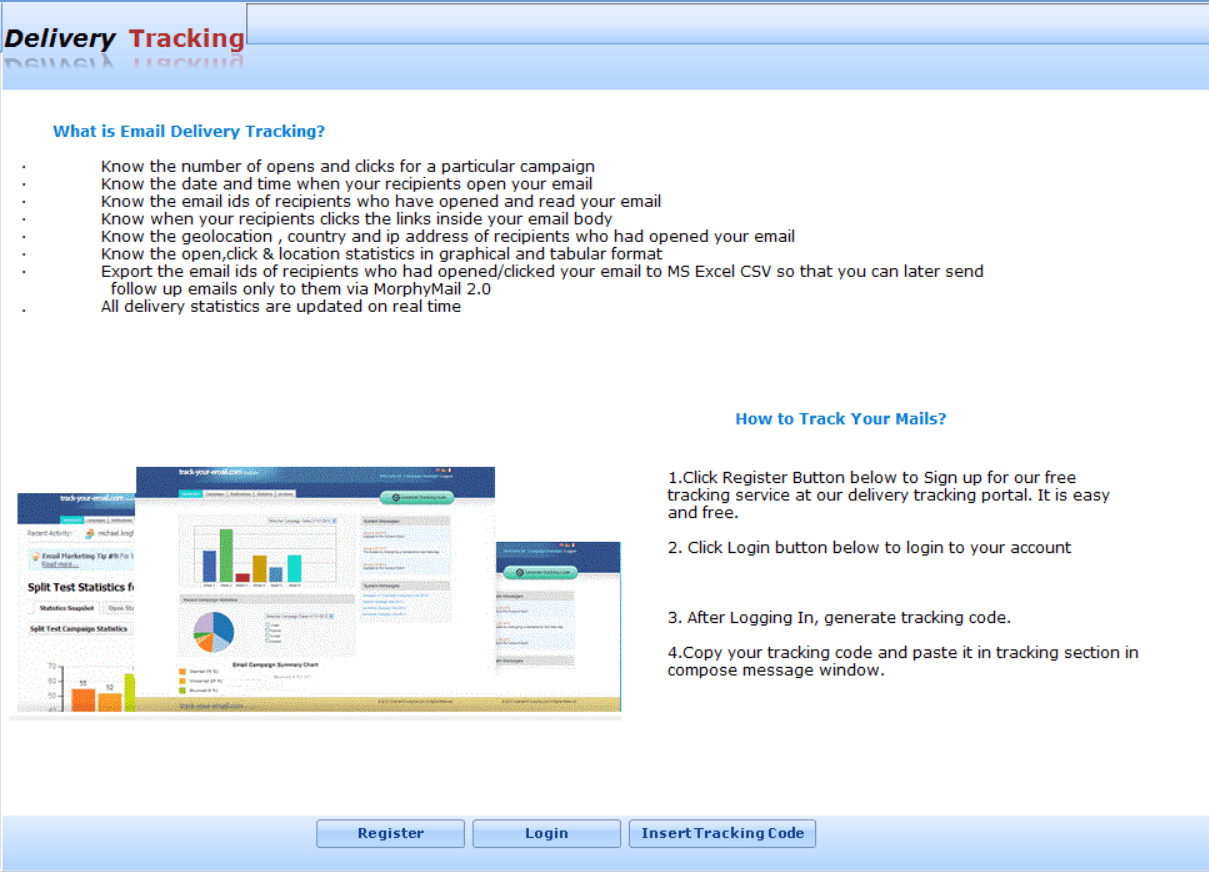
This is an online service which allows you to track your campaigns: how many people opened your newsletter, how many of them actually clicked on links, and so on; it displays collected data using detailed charts. In order to start tracking your mailing, just insert tracking code, generated from the , in the message.
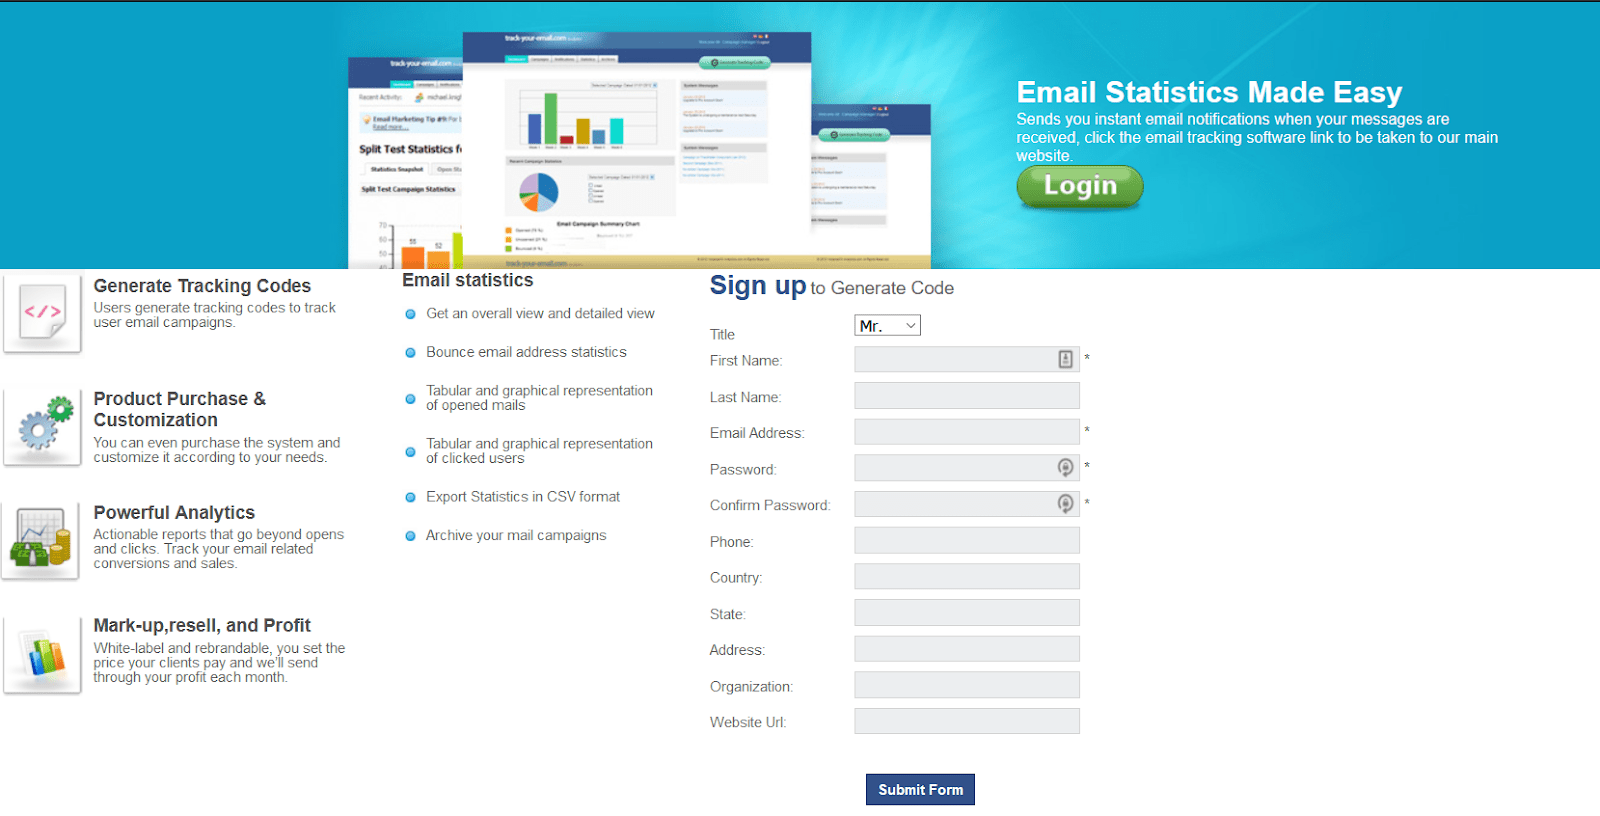
Connect to the Internet (if you are not already connected) and click on the
Register button. appears in the browser. Sign up for a new account by filling the form and clicking the Submit Form .
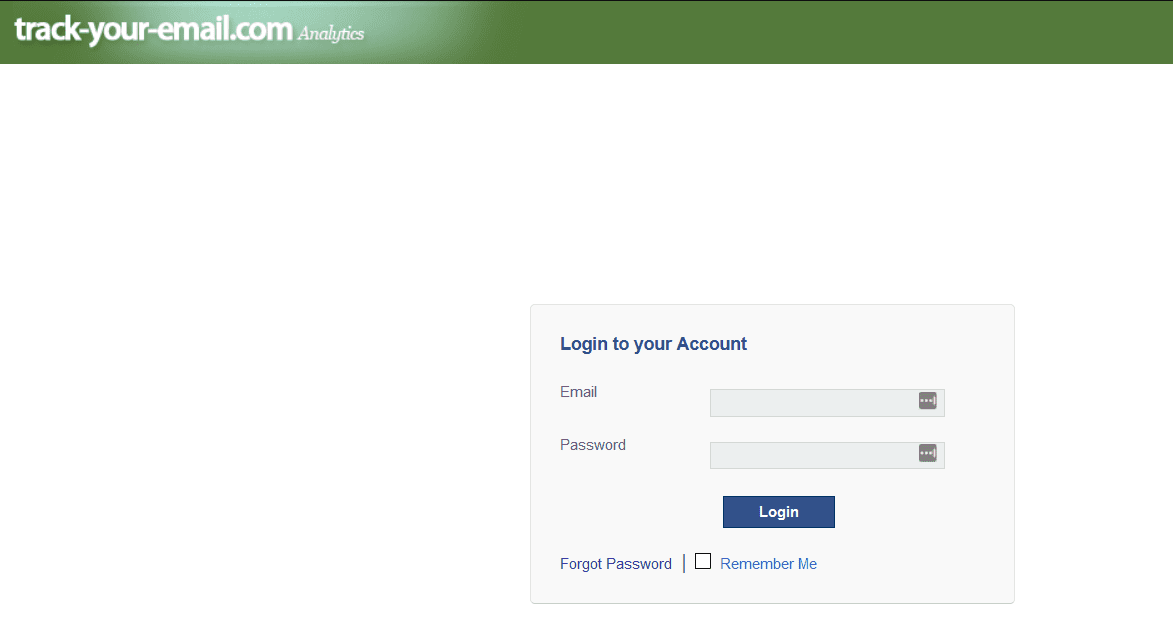
Click on Login , if you already have an account. Enter your email id and password to login.
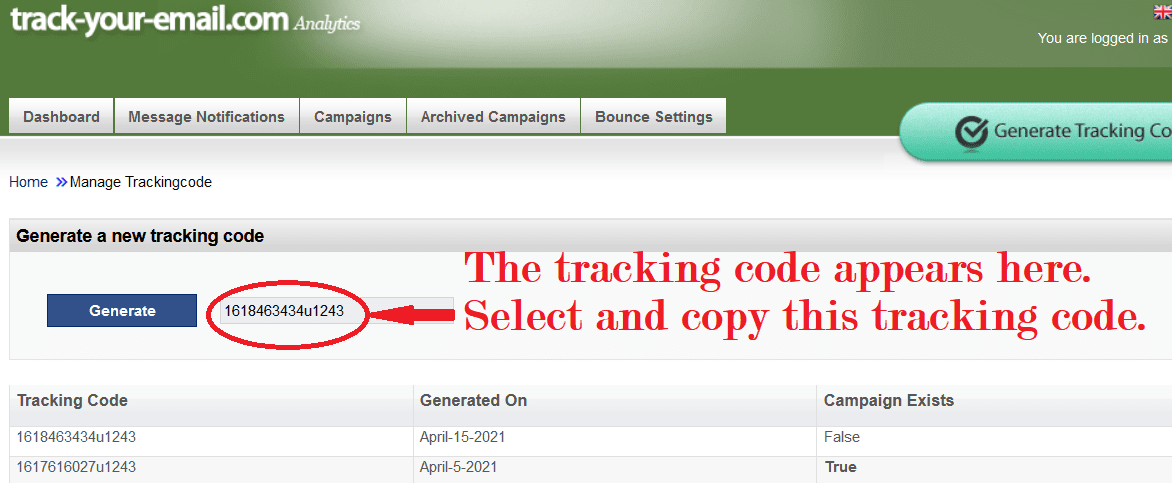
Click on Generate Tracking code button in the tracking site. Now click the Generate button and Copy the tracking code.
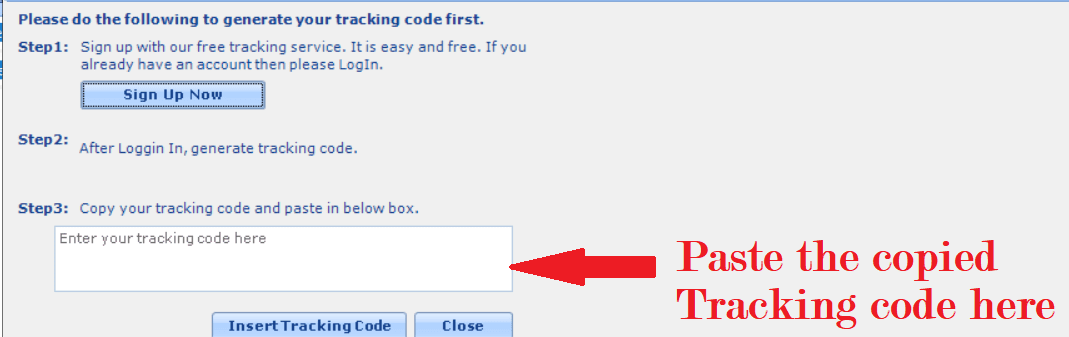
Click on Insert Tracking code button in Morphymail tracking window and the Tracking mail window appears as below, paste the copied code as shown
Click Insert tracking code button to complete the process.
All links in the message will be automatically updated so that they include the needed Tracking code and redirection system; a “tracking image” is also added to the message.
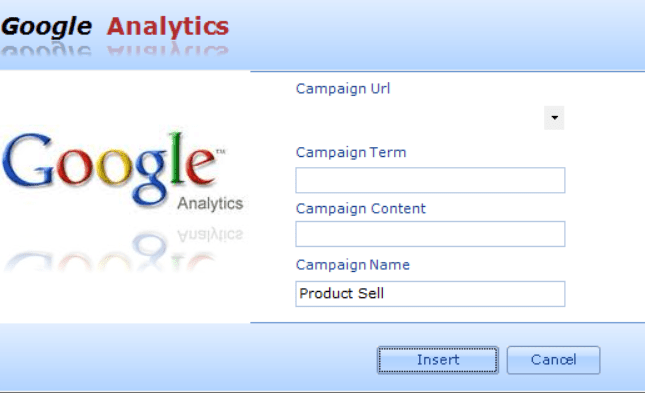
Google Analytics is the most widespread web analytics solution; it gives you rich insights into your website traffic and marketing effectiveness. If you already use Analytics on your website, you will be able to easily track your email campaigns too: just use this Google analytics option in the navigation panel and click the Integrate Google Analytics button .
Enter the campaign details : Campaign term(The search term purchased (if the link refers to keywords)), Campaign Content(The version of the ad (used for A/B testing) or in AdWords. You can identify two versions of the same ad using this variable.), and Campaign Name(The name of the marketing campaign, e.g. Spring Campaign.). and click Insert.
Note : To set up email tracking, the links from your email to the landing pages should be tagged with standard campaign tracking parameters. These are up to 5 “name-value” pairs (utm_campaign, utm_medium,utm_source, utm_term and utm_content) are part of the query string for the URL. Morphymail Google Analytics option automatically tags email campaign links with Google analytics campaign tracking parameters – it’s very tedious otherwise. This is a huge time saver since you can set up the campaign tracking tags within the email system rather than having to manually add them to each link in email.
Please remember that Google Analytics must already be installed on your website (or on the website recipients are redirected to). You need to be familiar with the service in order to be able to understand the tracking information it provides.
To sign in to your account, Click Sign in to Analytics.
In Admin, in the Account column, click Create Account.
Provide an account name. Configure the data-sharing settings to control which data you share with Google.
Click Next to add the first property to the account.
Enter a name for the property (e.g. “My Business, Inc website”) and select the reporting time zone and currency. If a visitor comes to your website on a Tuesday in their time zone, but it’s Monday in your time zone, the visit is recorded as having occurred on Monday.
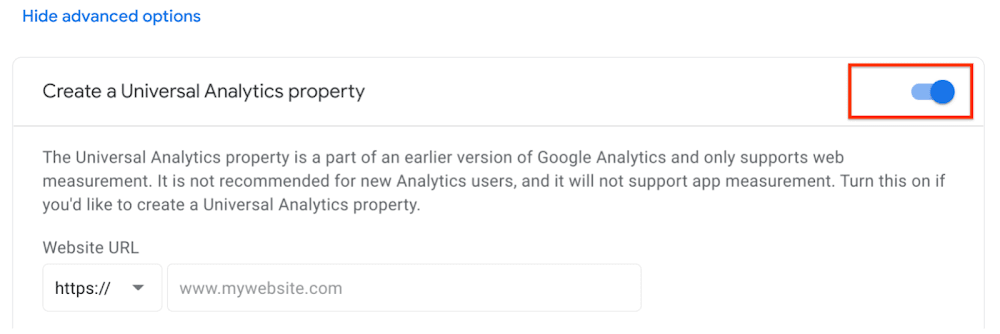
Turn on the switch for Create a Universal Analytics property If you want.
Enter the website URL. Select the protocol (http or https).
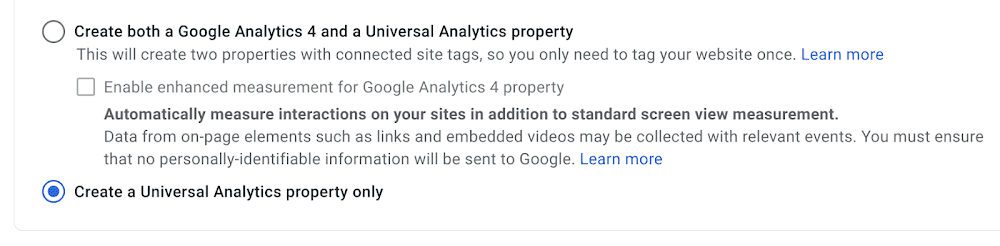
At this point, choose to create
Both a Google Analytics 4 property and a Universal Analytics property. This option
Set up a parallel Google Analytics 4 property that collects data alongside your Universal Analytics property. Once you add the tag for the Google Analytics 4 property to your site, data will be sent to both properties. You can switch back and forth between properties using the property selector or Admin screen.
Establishes a connection between the two properties that allows you to migrate configuration settings from your Universal Analytics property to your Google Analytics 4 property later on. How to identify each property: If you named your property “Example” in step 2, your Universal Analytics property will be named “Example (UA-1234567)” and your Google Analytics 4 property will be named “Example – GA4 (98765432)”.
Only a Universal Analytics property. Choose this option if you only want a Universal Analytics property. If you need a “UA-” tracking ID, choose this option.
Click Next and provide information about your business.
Click Create. Accept the Analytics Terms of Service and the Data Processing Amendment if prompted, and click Finish.
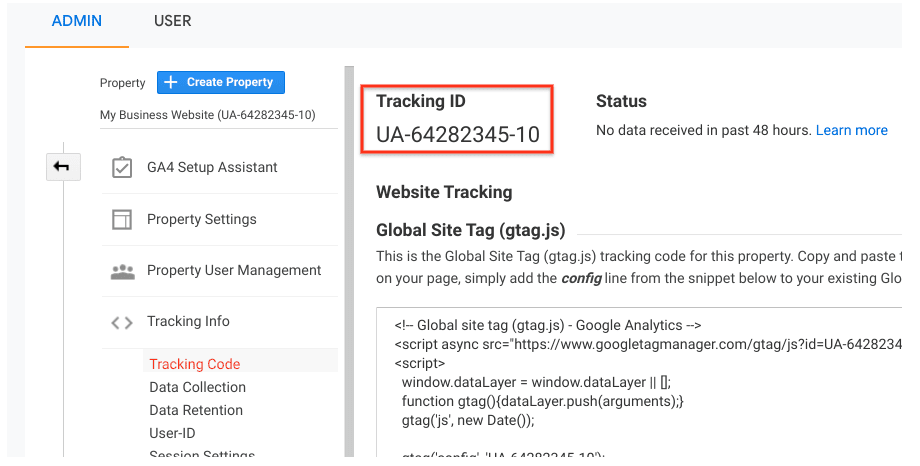
Creating a property generates a unique Tracking ID and a global site tag that includes the Tracking ID for that property. See the following section for information about finding your Tracking ID and global site tag.
Copy and paste the global site tag right after the opening <head> tag on each webpage you want to measure.
Select an account from the menu in the ACCOUNT column.
Select a property from the menu in the PROPERTY column.
Under PROPERTY, click Tracking Info > Tracking Code.
Your Tracking ID is displayed at the top of the page. Your global site tag is displayed farther down the page in a text box under Website Tracking > Global Site Tag (gtag.js)
The global site tag :-The global site tag is several lines of code that you need to paste into each webpage you want to measure:
<!– Global Site Tag (gtag.js) – Google Analytics →
Paste it immediately after the <head> tag on each page of your site.
Once you’ve added the Analytics tag to your website, Analytics starts sending data to your property within minutes (usually 10-15 minutes).
To confirm that your property is receiving data, check the Realtime report. If you’ve set up your measurement code correctly, the Users right now card should refresh about every 15 seconds with a new count of users.
It takes 24-48 hours for Analytics to process the data for the other reports.